Before entering into the detail of highlighted objects it is necessary a brief introduction to the Aqua Map's Route Explorer functionality.
As an Aqua Map user you can purchase the Master subscription and obtain its advanced navigation functions, turning your mobile into a full functional chartplotter:
- NMEA Connections: to connect to your boat’s devices and receive GPS, depth, wind information
- AIS Connection: to receive and display AIS targets from your AIS device
- Route Explorer: to explore the objects you will find along your route
...and a lot more!
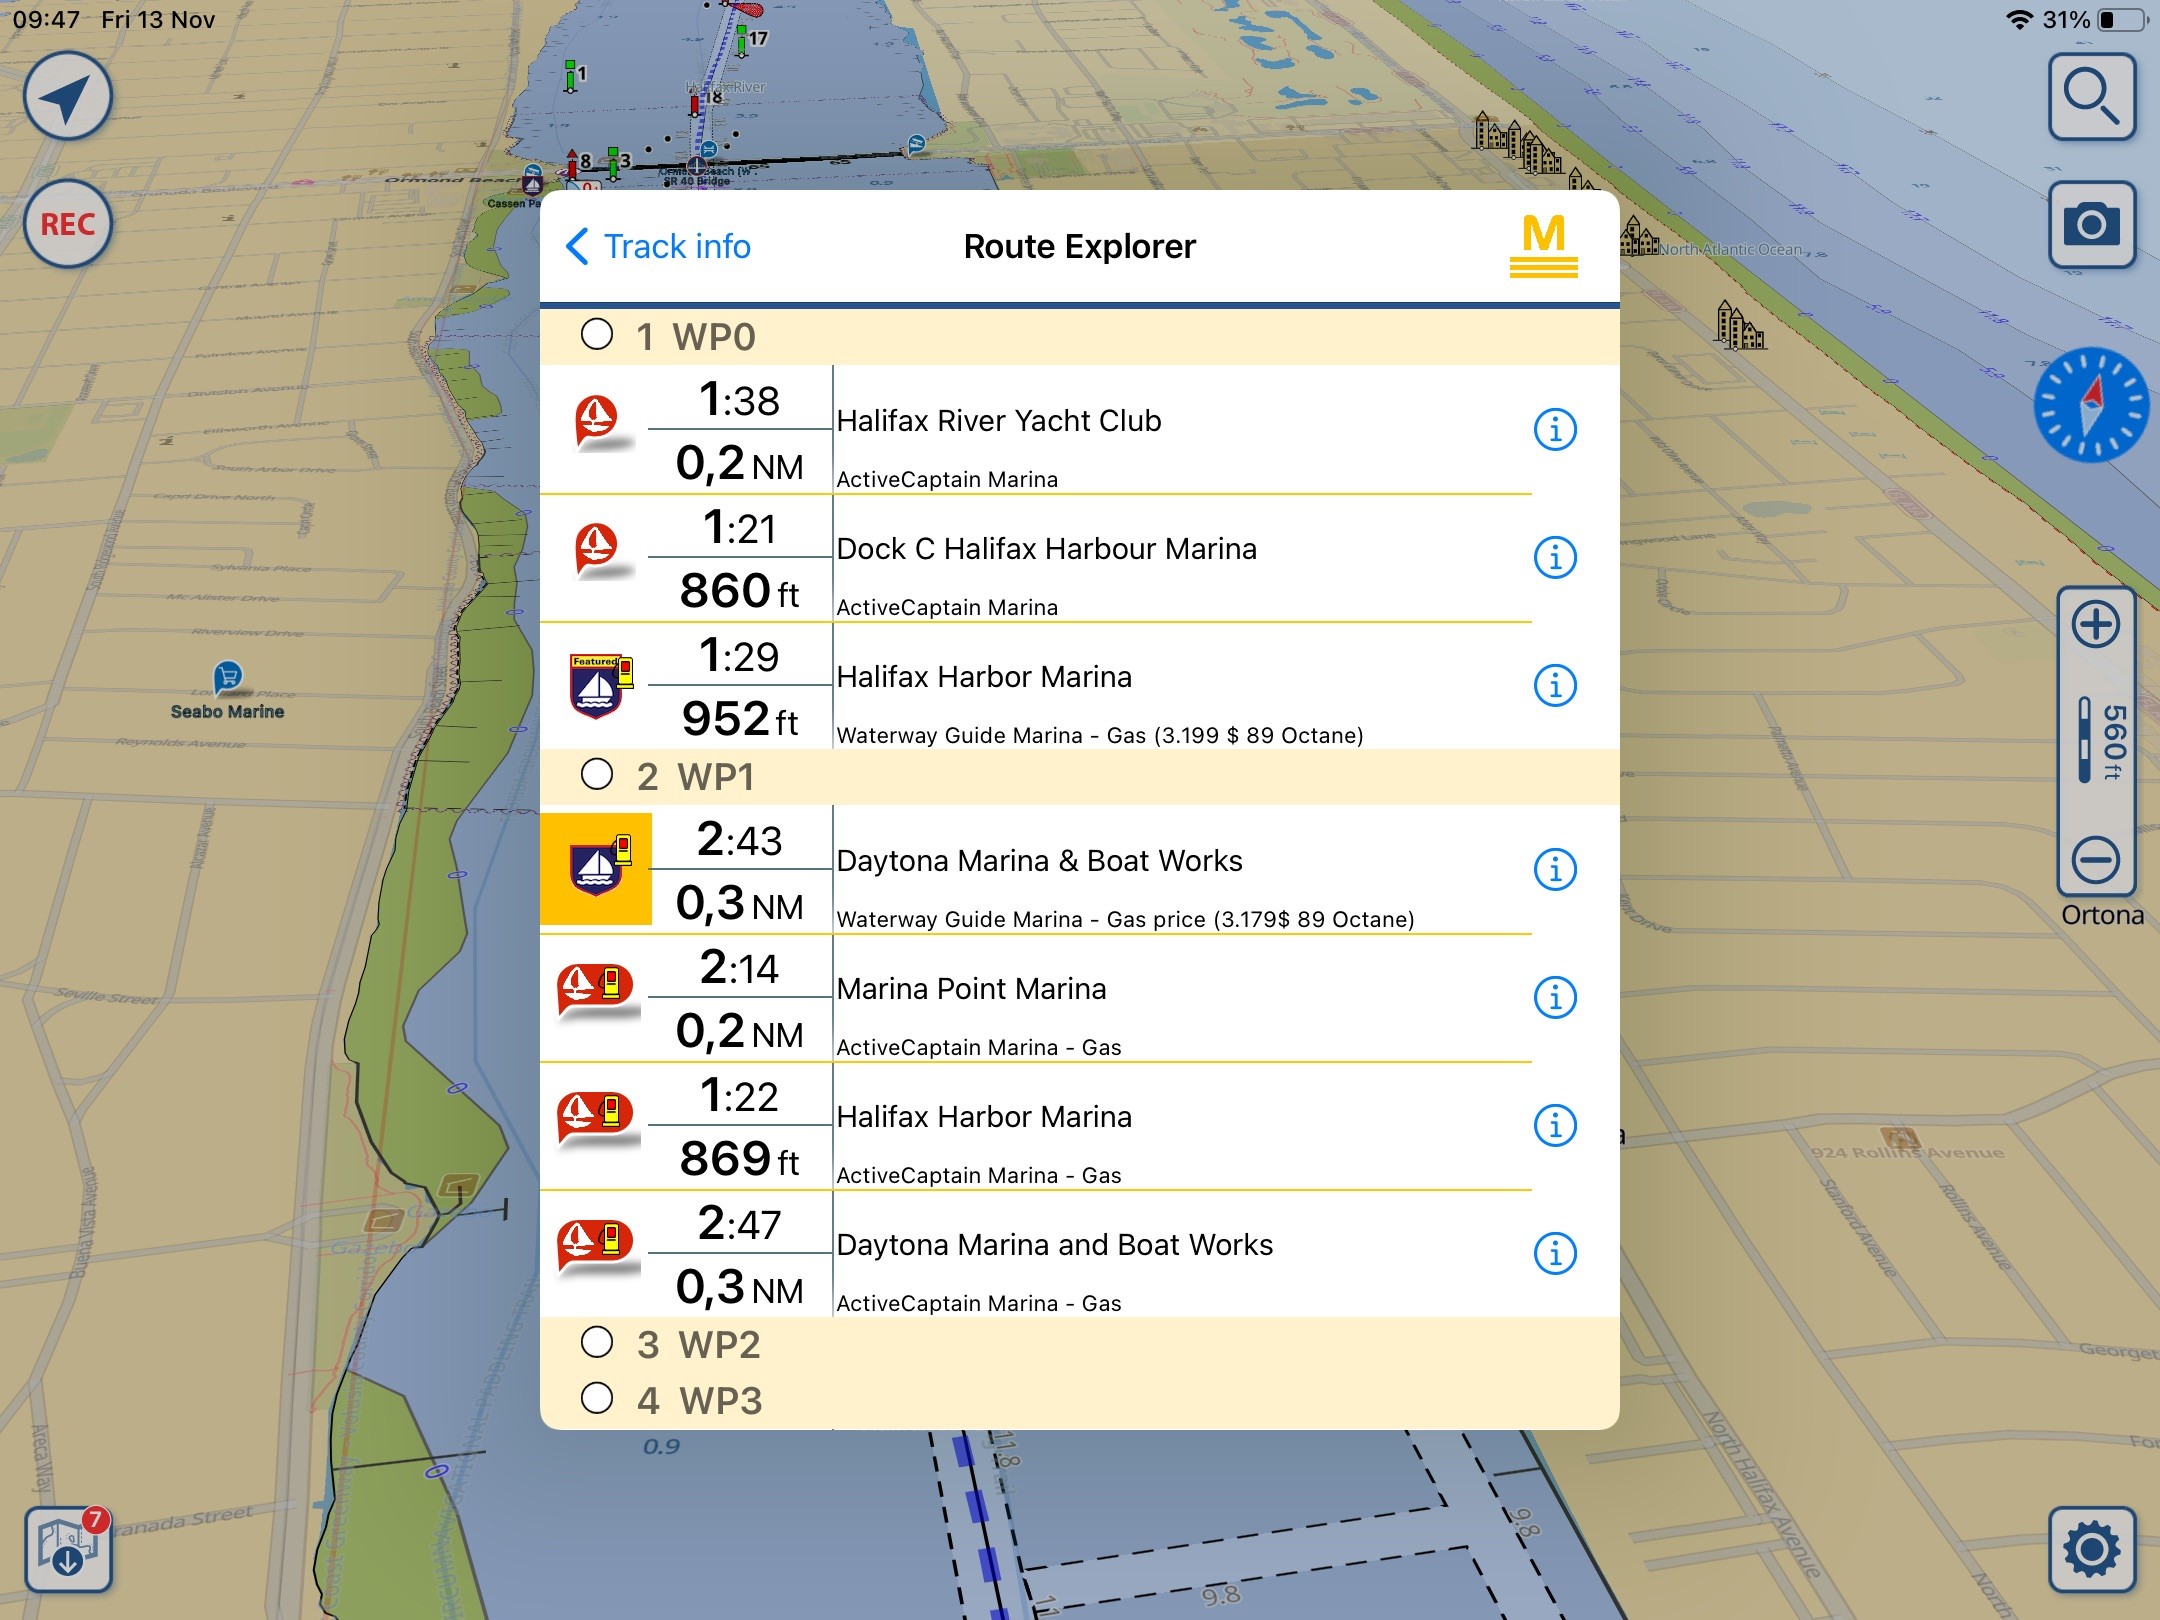
Route Explorer is an exclusive Aqua Map function that searches for all points of interest that are present along a Route or a Track that you want to navigate. After you draw a new route, or along a track, Route Explorer will automatically calculates:
Hazards, anchorages, marinas, fixed and lift bridges and fuel stations depending on your fuel type highlighting the one with the best price.
For each point of interest you have the distance to it and time to reach it (or the estimated time of arrival during the navigation)

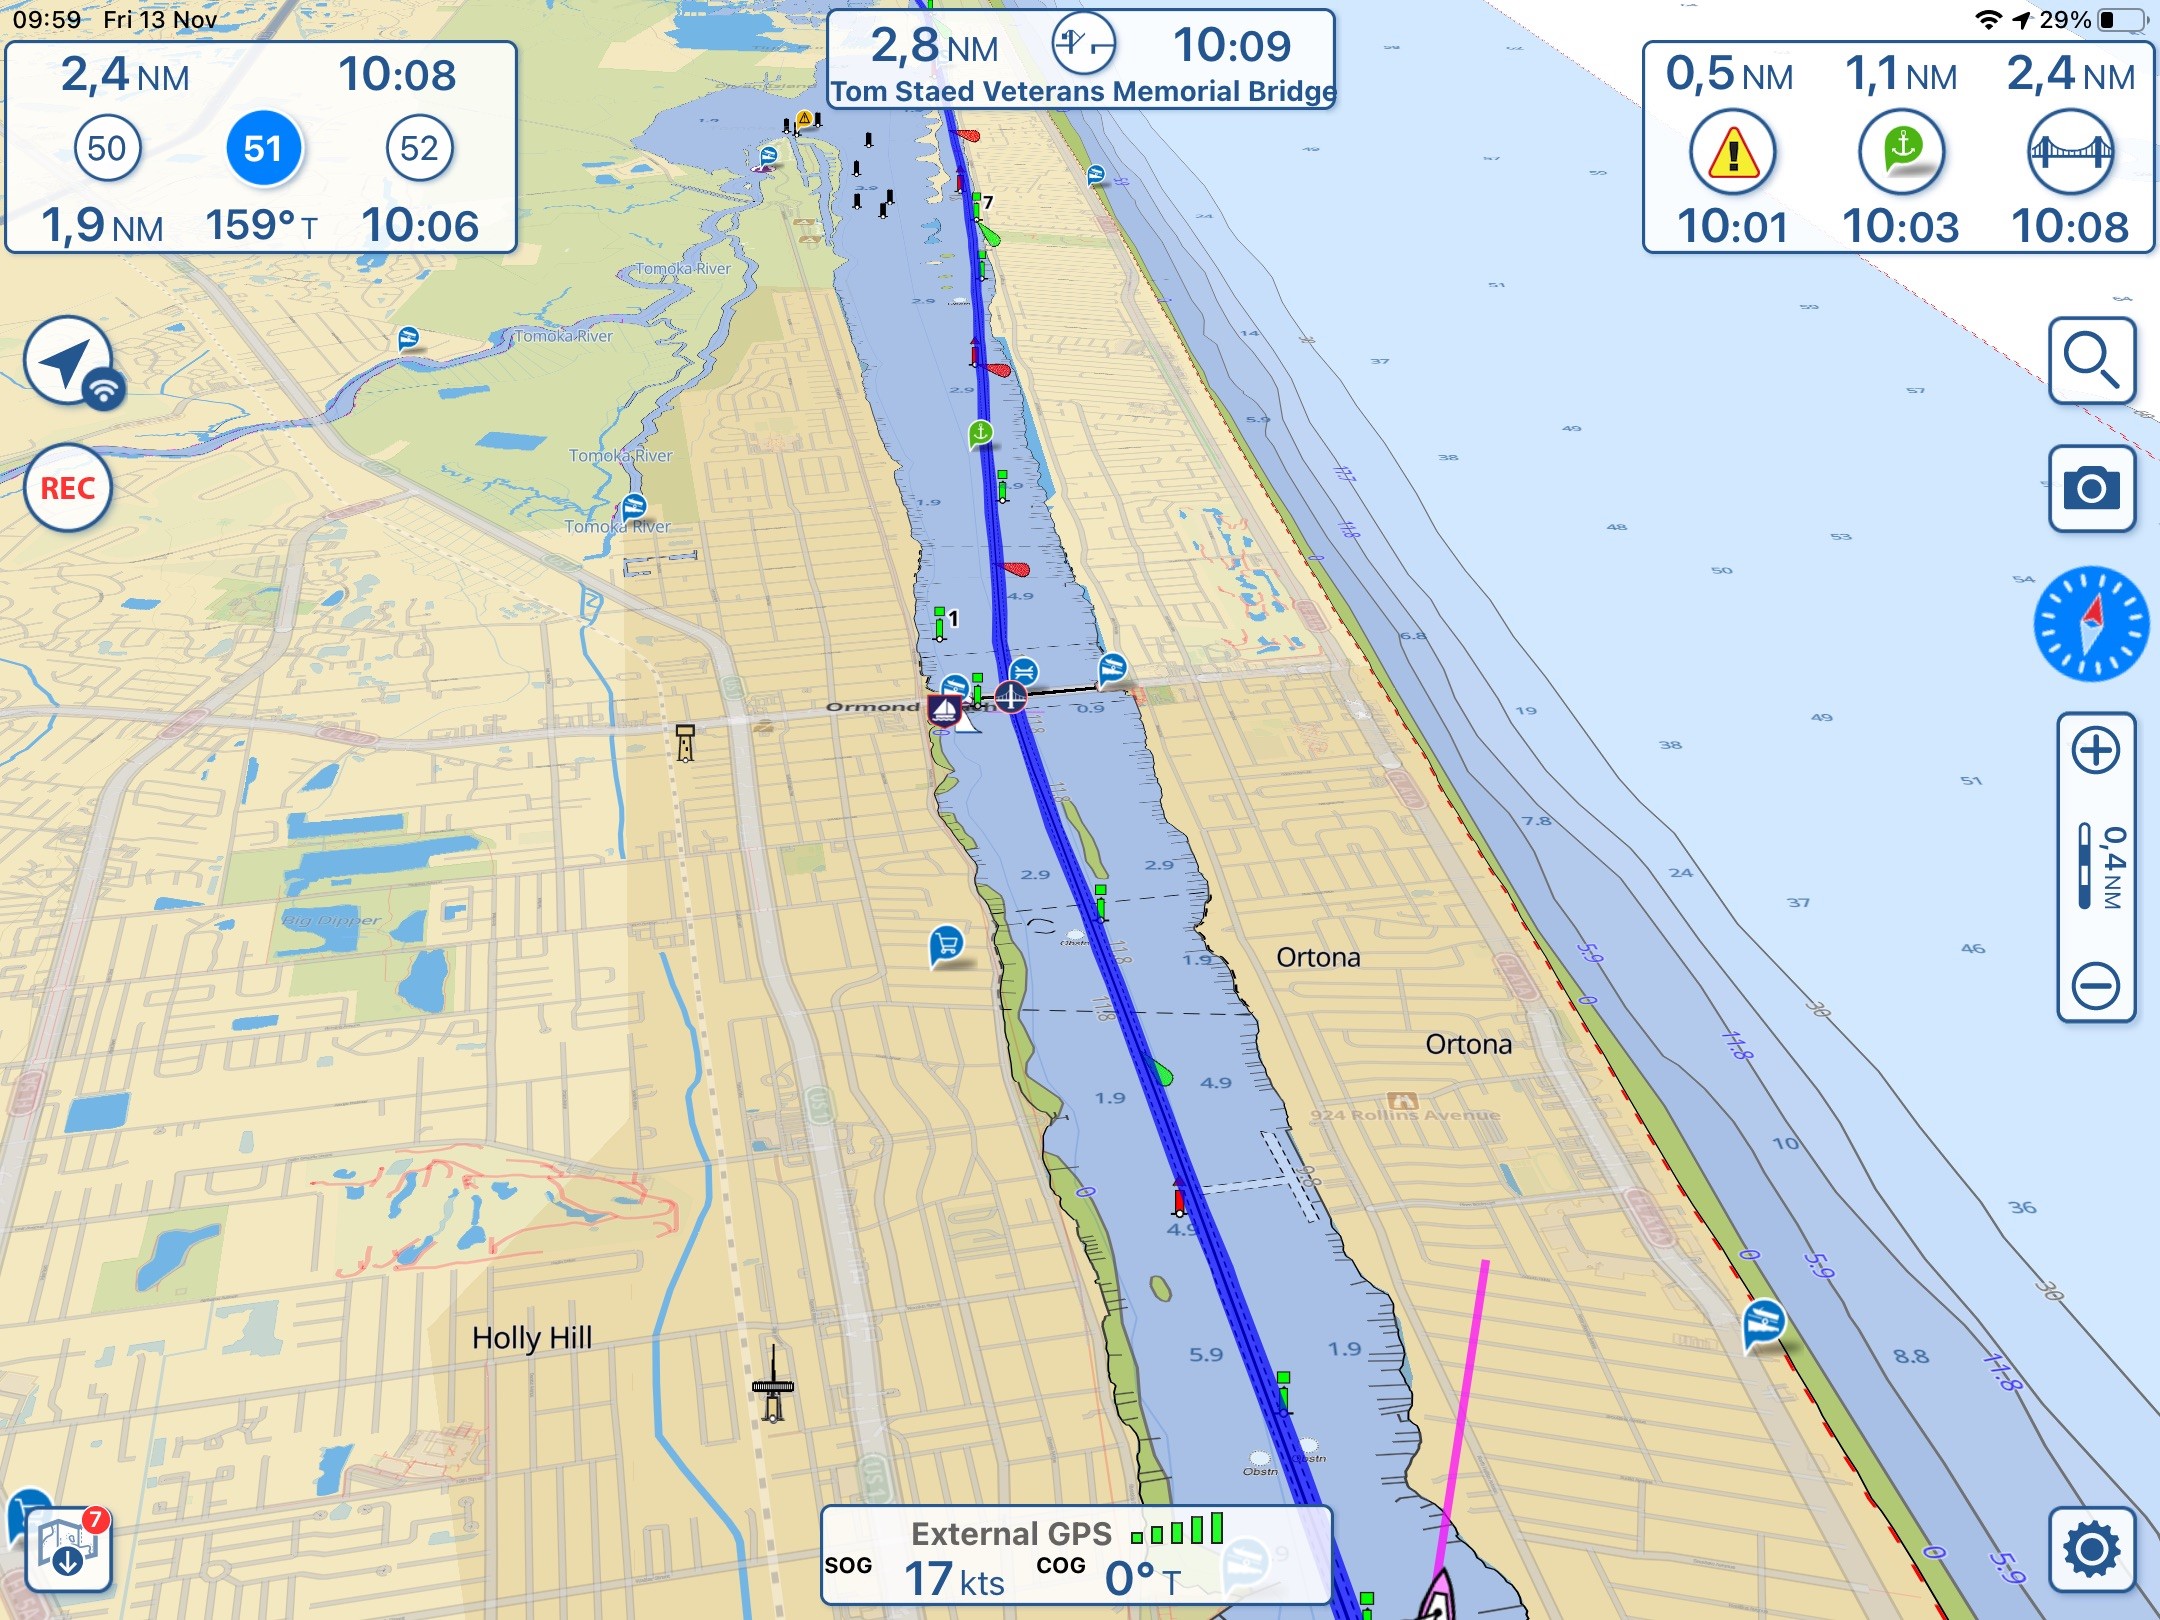
During the navigation you can monitor estimated time of arrival and the distance to the found objects

The window in the top left corner contains the standard navigation information, target waypoint and on top the distance and estimated time of arrival to the end of the route and on the bottom line the distance, direction and estimated time of arrival on the next waypoint.
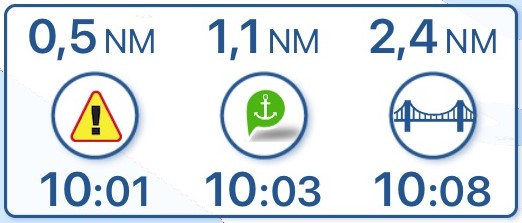
In the window on the top right corner you have the specific information found by Route Explorer:

For each category of object found the system shows the distance and estimated time of arrival. You can constantly monitor the next hazard, the next marina or anchorage point and the next bridge.
Now let’s focus on the top center window of the screen

Here you can constantly monitor the distance and the time of arrival to the next point of interest of a list of point of interest that you created selecting them one by one from the set of objects found by the Route Explorer.
This way you can keep track of any particular point of interest in your trip as a lift bridge that opens at a specific time or the fuel station having the best price or your night’s destination.
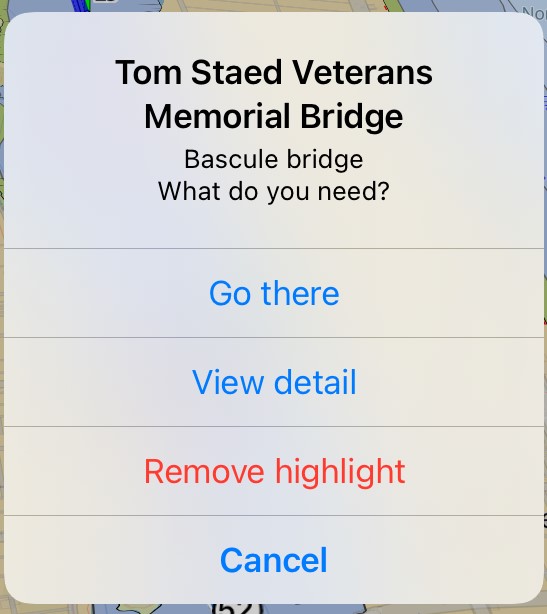
When you tap on the object icon ![]() the app will open a box with a list of actions you can do with the object:
the app will open a box with a list of actions you can do with the object:

- “Go there” shows the object position on the charts
- “View detail” show all the info related to the object
- “Remove highlight” removes the object from the list of highlighted points of interest, in this way the window will shows the navigation info of the next highlighted object
But how a specific object is added to the list of the “highlighted”?
In the list of Route Explorer objects go to the line of the object to be highlighted and swipe your finger right to left

The app will show the button for highlighting the object

Tap on the Highlight button and the line will become yellow, the object is highlighted from now on

If you swipe again on an highlighted object you will access the button for removing the highlight

That’s all for the day. Thank you for your interest, hope you will use the “Route Explorer” and its highlighted objects in your future navigations.
Enrico Valle, Aqua Map team.


